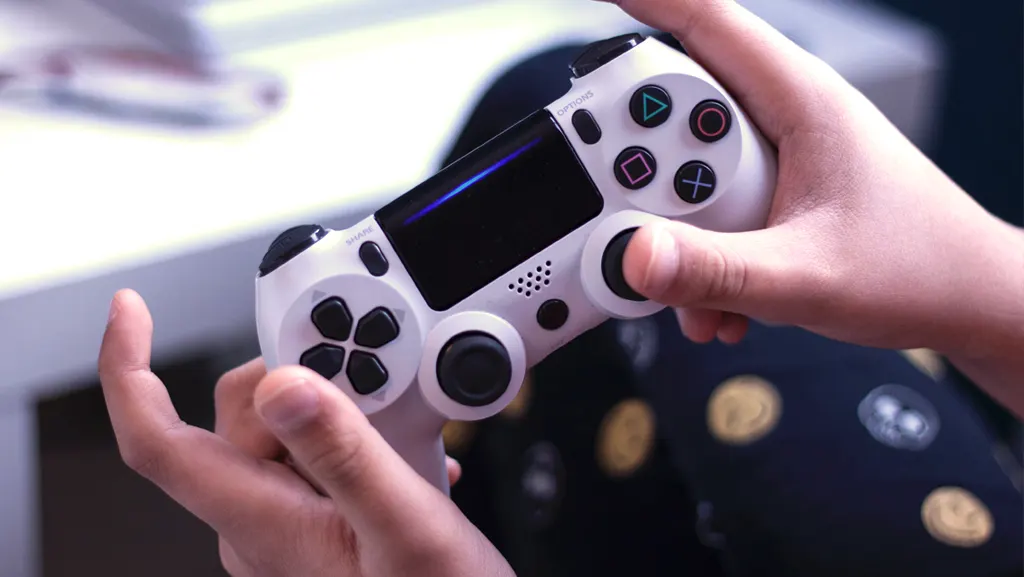
If you’re playing a game on your PS4 and notice your character moving on its own or looking in a certain direction without any input, you’re likely experiencing controller drift. This issue occurs when the analog sticks on your DualShock 4 controller register unintended movement, causing frustrating gameplay experiences.
Fortunately, there are several ways to fix controller drift on a PS4 controller, ranging from quick resets to more advanced repairs. Follow this step-by-step guide to troubleshoot and potentially resolve your stick drift issue.
What Causes PS4 Controller Drift?
Before we jump into solutions, it’s important to understand what might be causing the drift:
- Dirt, dust, or debris inside the joystick mechanism
- Wear and tear on the internal potentiometers
- Software glitches affecting the controller’s calibration
- Damaged analog stick sensors from excessive use
Now, let’s explore four proven methods to fix this problem.
Method 1: Reset Your Controller
The first step is to reset your DualShock 4 controller to rule out any software-related issues.
How to Reset Your PS4 Controller:
- Turn off your PS4 completely.
- Locate the reset button on the back of your DualShock 4 controller (a small hole near the L2 button).
- Use a paperclip or a small tool to press and hold the reset button for 5 seconds.
- Reconnect the controller by plugging it into the PS4 via a micro-USB cable.
- Turn on your PS4, then turn on your controller and see if the drift issue persists.
If resetting doesn’t work, move on to cleaning the controller.
Method 2: Clean the Analog Sticks
Dirt and debris can accumulate around the analog stick, interfering with its function. Cleaning the stick can help remove any particles causing the issue.
Steps to Clean Your Controller:
- Power off your PS4 and controller.
- Get a Q-tip or cotton swab and dip it in rubbing alcohol (isopropyl alcohol, 70% or higher).
- Gently clean around the edges of the analog sticks, rotating them to ensure full coverage.
- Use a can of compressed air to blow out any hidden dust or debris.
- Allow the controller to dry for 5-10 minutes before testing it.
This simple cleaning method can sometimes restore proper function to your sticks.
Method 3: Recalibrate the Analog Sticks
If the problem persists, you can try recalibrating the sticks manually.
How to Recalibrate Your PS4 Analog Sticks:
- Push both analog sticks inward and hold for 10 seconds.
- Rotate the sticks clockwise for 10 seconds.
- Rotate the sticks counterclockwise for 10 seconds.
- Push them inward again for another 10 seconds.
- Release and test the controller to see if the drift is resolved.
This method helps realign the potentiometers inside the sticks and may restore proper function.
Method 4: Replace the Analog Sticks (Advanced Fix)
If none of the above solutions work, the problem could be worn-out analog stick sensors. Replacing them is possible but requires technical skill.
Why Replacing Analog Sticks is Difficult
- You need to open the controller and remove several internal components.
- The process requires a soldering iron to attach new analog sticks to the controller’s motherboard.
- Mistakes could result in permanent controller damage.
Alternative Solution: Buy a New Controller
If you’re not comfortable with soldering, it may be best to purchase a new DualShock 4 controller, especially if yours is old or heavily used.
Final Thoughts
Controller drift can be frustrating, but before spending money on a new controller, try these four fixes:
- Reset your controller using the hidden reset button.
- Clean the analog sticks to remove dust and debris.
- Recalibrate the sticks to realign the sensors.
- If all else fails, consider replacing the analog sticks (or buying a new controller).
If you found this guide helpful, please like, share, and comment with any other methods you’ve tried!

