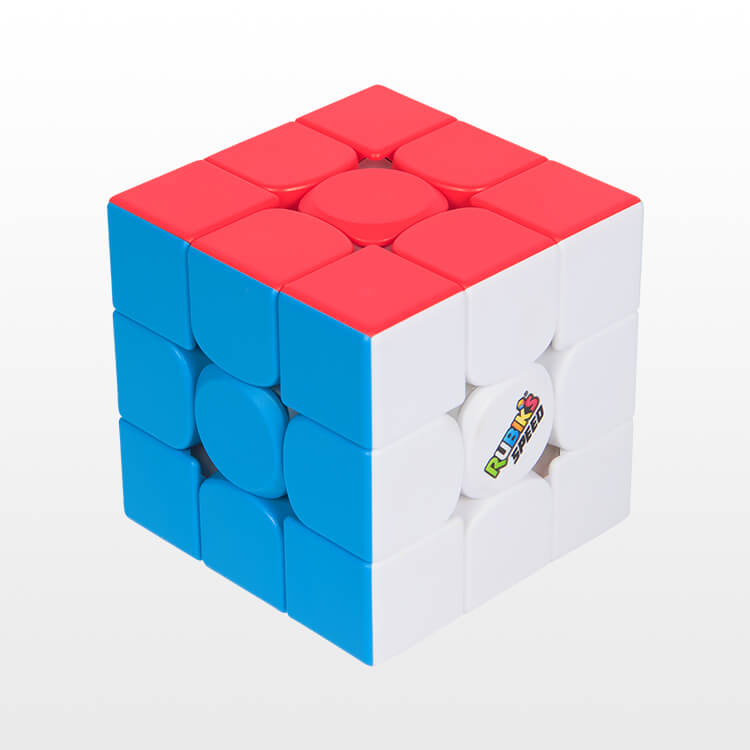
Have you ever found yourself staring at a disassembled Rubik’s Cube, wondering how to put it back together? Whether you accidentally dropped it or took it apart out of curiosity, reassembling a Rubik’s Cube can seem daunting. But don’t worry—this guide will walk you through the process in a simple, practical way.
Understanding the Rubik’s Cube Structure
Before fixing your Rubik’s Cube, it’s essential to understand its three main components:
- Center Pieces – These are the single-colored squares in the middle of each face. They are attached to the core and determine the color of each side.
- Edge Pieces – These have two colors and fit between the center pieces.
- Corner Pieces – These have three colors and occupy the corners of the cube.
By categorizing the pieces, reassembly becomes much easier.
Step 1: Sorting the Pieces
Start by separating the pieces into three groups:
- Center Pieces – Set these aside first.
- Edge Pieces – These have two colors (e.g., red and blue).
- Corner Pieces – These have three colors (e.g., white, red, and blue).
This organization will help you rebuild the cube systematically.
Step 2: Reassembling the First Two Layers
1. Inserting Edge Pieces
Begin by reconstructing the first two layers (the bottom and middle layers).
- Look for edge pieces that do not contain the color of the top face (usually yellow).
- Match the edge piece to its correct position. For example, a red-blue edge piece goes between the red and blue centers.
- Gently push the piece into place. If it doesn’t fit easily, adjust the surrounding pieces to make space.
2. Completing the First Layer
Once the edge pieces are in place, move on to the corner pieces of the first layer.
- Find a corner piece that matches the three adjacent center colors (e.g., white, red, and blue).
- Align the colors and snap the piece into place. Be careful not to force it too hard to avoid breaking the cube.
Step 3: Solving the Last Layer
1. Inserting the Final Edge Pieces
Now, focus on the top layer (usually yellow).
- Match the remaining edge pieces to their correct positions (e.g., yellow-red, yellow-blue).
- Slide each piece into place, ensuring they align with the center colors.
2. Adding the Last Corner Pieces
The final step is inserting the remaining corner pieces.
- Find a corner piece that matches the three colors of its intended position (e.g., yellow, red, and blue).
- If the piece doesn’t fit easily, rotate the top layer slightly to create space.
- Carefully push the last piece into place.
Final Check: Ensuring Smooth Movement
Once fully assembled, test the cube by twisting each side to ensure smooth movement. If any piece feels stuck:
- Loosen the surrounding layers slightly.
- Adjust the tension by gently realigning the pieces.
Conclusion
Reassembling a Rubik’s Cube is a methodical process that becomes easier with practice. By sorting the pieces and rebuilding layer by layer, you can restore your cube to its original state.
Now that your Rubik’s Cube is fixed, why not try solving it next? Happy cubing!

